

Driving Direction
Drive to the Yosemite Valley (that part is easily manageable using Google Maps). You will need a wilderness permit in order to camp. You can reserve it online or by walking into the main visitor center. During peak season, you might want to reserve your permit in advance or plan on walking in at dawn in order to secure your permit. From there, head to Happy Isle Trailhead. You will find a parking lot a few hundred feet from the trailhead where I suggest you park your car.
Introduction
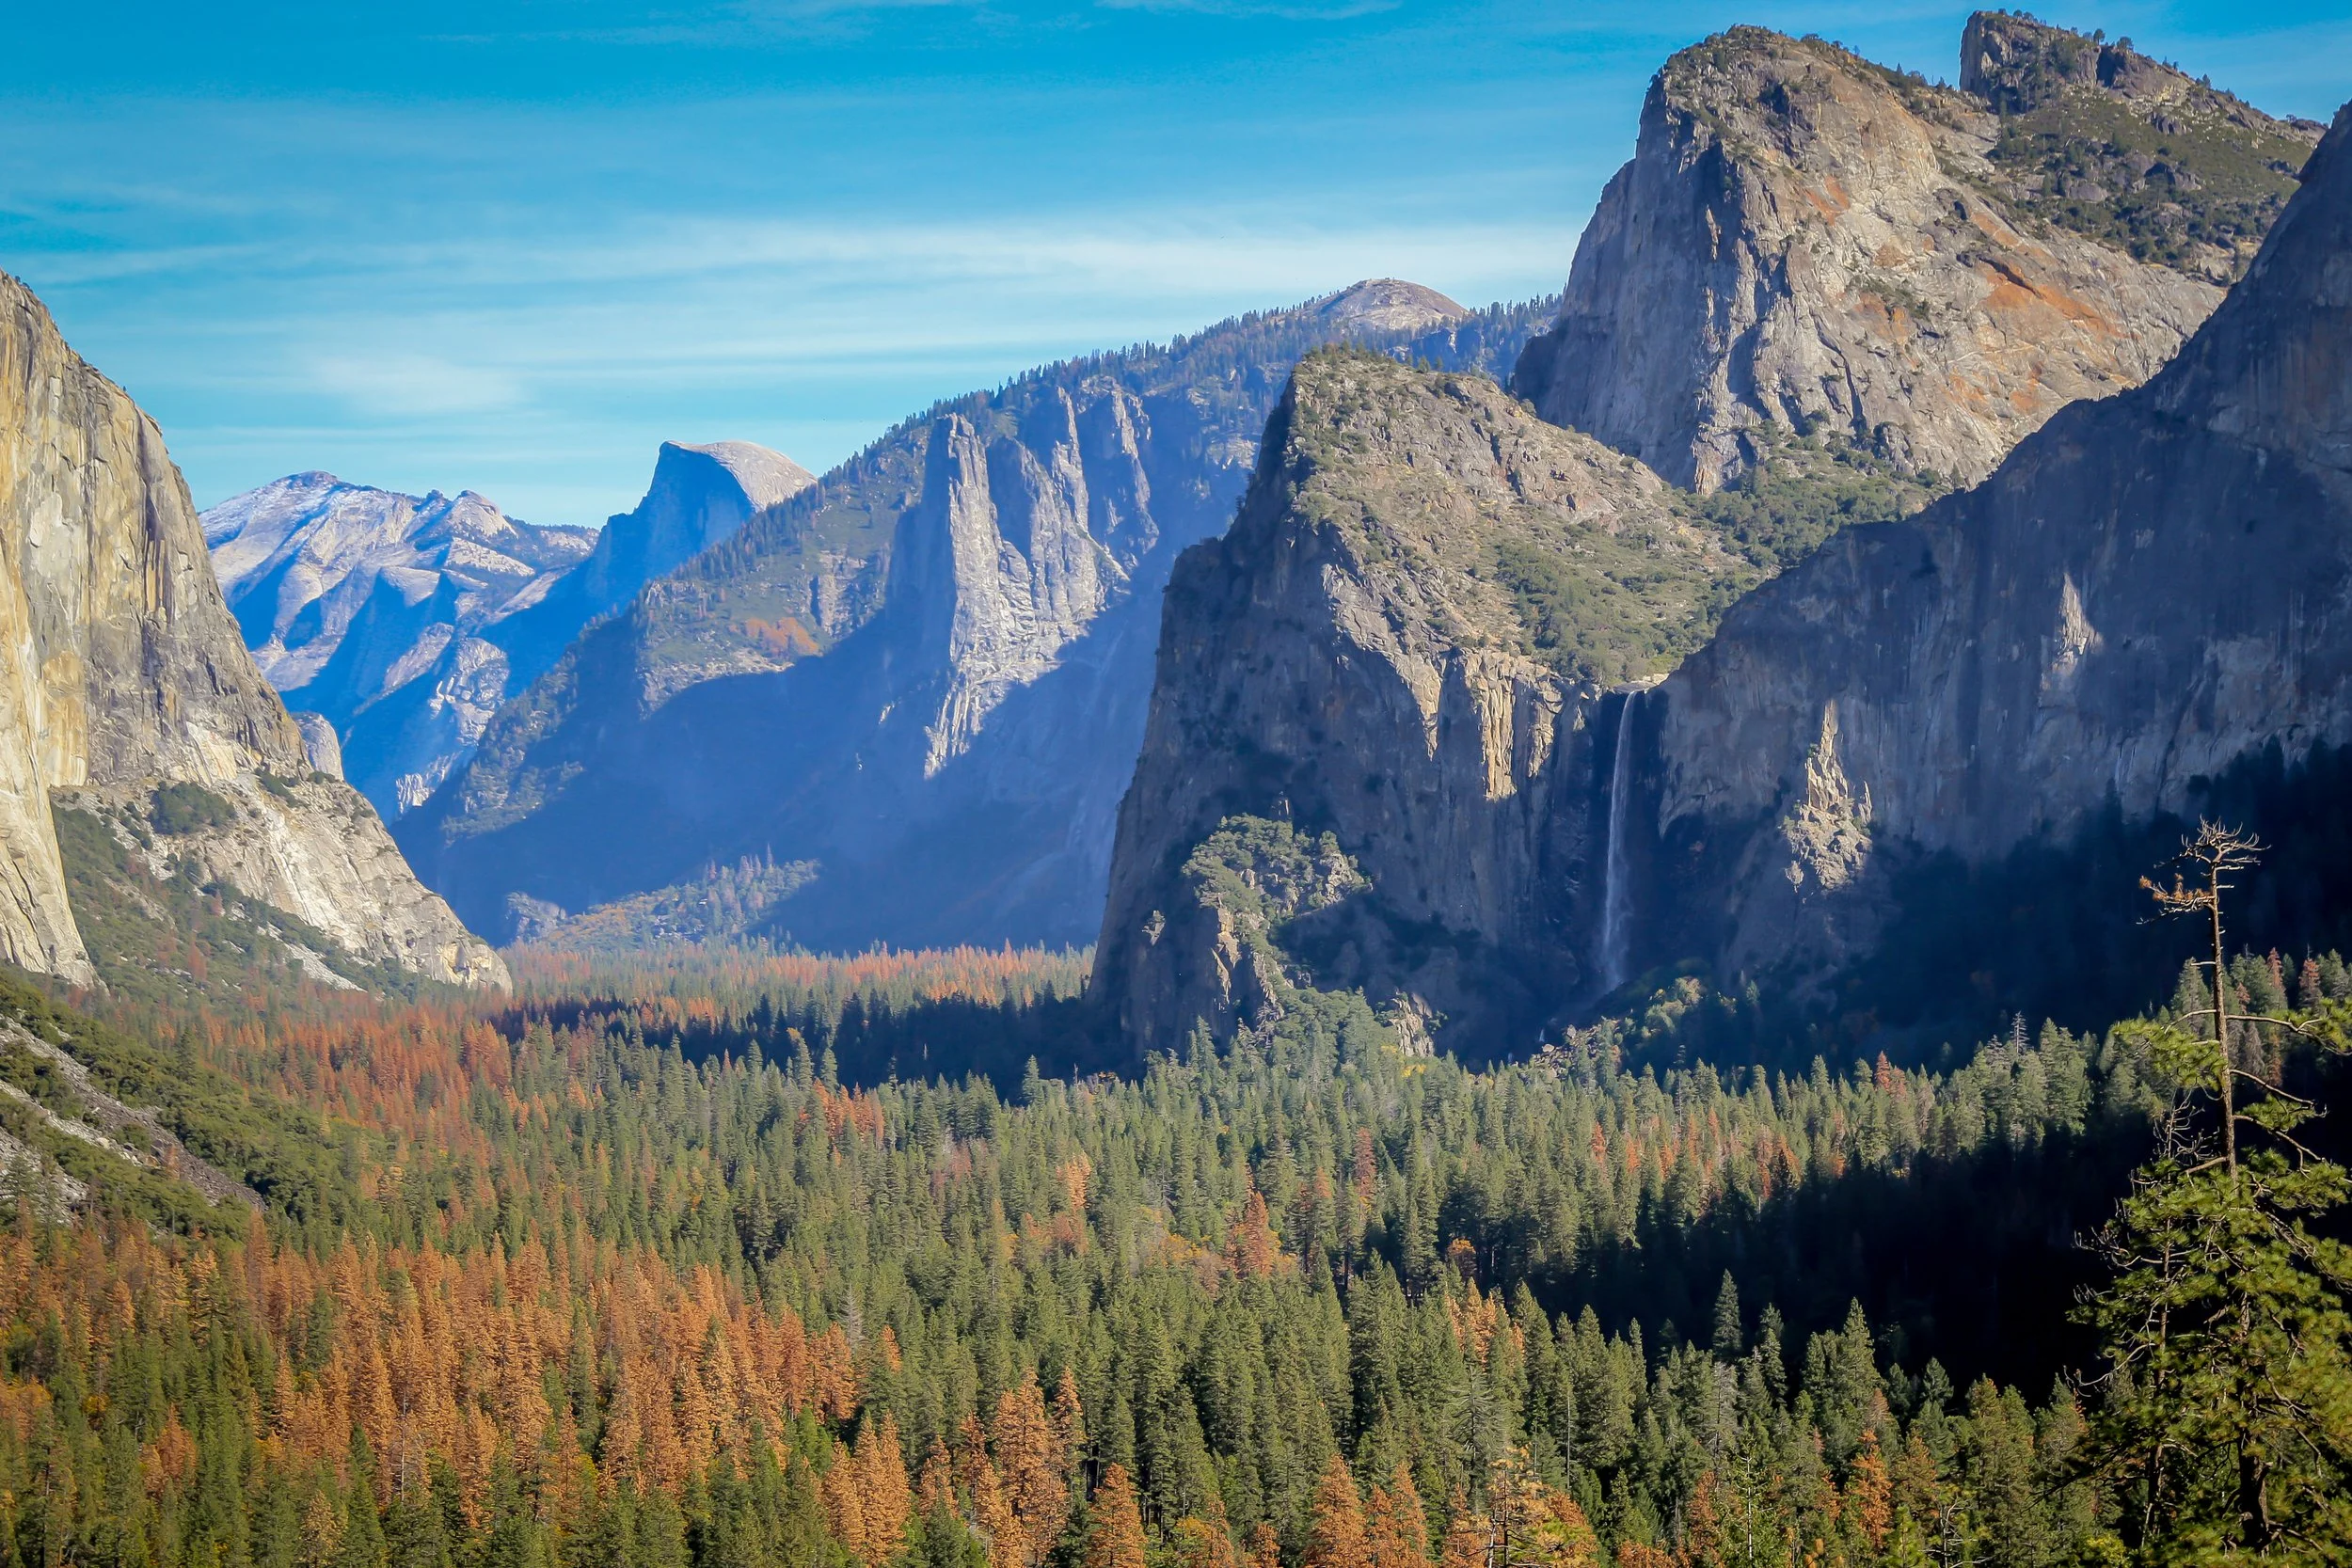
Yosemite is one of America's most visited National Park. While several parts of the parks - such as Upper Yosemite Falls or Half Dome - are extremely popular, they are also some of the most crowded, especially in the summer months. This report covers a 3-day hike from the Yosemite Valley to Cloud's rest, a less known perched flat summit that sits 2,000ft above Half Dome.
Day 1 - Vernal Fall
I drove from Los Angeles for about 7 hours and picked up my permit at the ranger station at around 2pm. I was under the assumption the Yosemite Valley was going to be crowdless for a late fall week-day. Much to my surprise, I found quite a long line of people at the station. As I was waiting, an elderly park ranger was swearing in four aspiring young Junior Rangers.
I picked up my permit, parked at Half Dome Village then headed to Happy Isles trailhead. If you are doing this trail in the winter, I would recommend asking the Rangers how to get to Happy isles. You might have to park at the main village and use a shuttle.
It’s a steep 4-mile / 2,000 ft elevation gain hike to the top of Nevada Falls (Alt: 6000ft). On the way up, you will pass by Vernal Falls then hike up to the top of Nevada Falls. The trail is mostly made of concrete up to Vernal. I found it to be pretty crowded with several casual day-hikers.
On the way up, I crossed a dense Forrest, offering lots of shade and the wonderful smells of the Sierra Mountains. Fall is a beautiful season: it offers a wide range of stunning colors ranging from the traditional green conifers to the yellow/orange ish leaves of the California black oak. This striking scenery quietly changes as you gain altitude and join a more subalpine forrest.
Upon approaching Vernal Falls, the trail turns into a series of stone steps carved in the rock. The views offered at Vernal falls are absolutely striking, and you will definitely feel the power of the water crashing on the rocks. It’s a perfect spot for photographers.
As I passed the top of Vernal Falls, the scenery changed radically. I found the trail surprisingly more secluded as most casual hikers stop at the top of Vernal Falls.
As I climb towards Nevada Falls, Half Dome starts appearing to the left.
While Nevada Falls are impressive, I found them less stunning than `Vernal Falls. From there, it’s another 1mile / 1000 feet elevation gain to the top. Before reaching the top of the falls, the trail splits in two: One part will lead you towards Half Dome, the other one towards the top of Nevada Falls.
From there, I set up camp 100 ft from the falls. I enjoyed a hearty meal of Pasta Primavera (Mountain House) and set up my tripod for a session of Astrophotography.
DOWNLOAD TERRAIN PROFILE FOR DAY 1


Day 2 - Cloud’s Rest
After a long and hearty breakfast, I started hiking at 10am. The hike from Nevada Falls to Cloud’s rest is not for the rookie backpacker. It consists of a 7.5 miles / 4000ft elevation gain climb.
If you are carrying a heavy load like I did, your legs will feel it. The hike will take you across a dense forest of pines trees. The first 3 miles consist of a decent climb which will lead you towards the intersection between Half Dome and Cloud’s rest trails. A lot of people take this route to go up Half Dome, which may be very busy in the Summer but not as much in the Fall since the cables are taken down.
From there, the trail turns in to a never ending series of switchbacks. The majority of the trail is sheltered from the sun making this climb easier. The trees are dense all the way up to 9500ft and do not provide much visibility.
This long an painful trail (which reminded me so much of Mt Baldy) ends in quite an epic way. Upon reaching the top, I found myself rewarded with a gorgeous panorama view of the Sierra Nevada range. The nearly unobstructed 360 view offers stunning vistas of the Yosemite Valley (with Half and Quarter Dome appearing in the foreground). Turning to the east, I enjoyed a colorful view of the Great Western Divide’s snow-covered peaks as the sun slowly slipped away towards the west.
Its a photographer’s paradise. I setup my camera for some photography as I cooked a bag of Mexican rice and beans (Mountain House). It was November, Cloud's rest was covered with snow and the temperature at night dropped to nearly 0F. I slept with all my layers as well as my down jacket and hardshell in my 15F Western Mountaineering sleeping bag.
I slept at the top - much more exposed to the wind- but I wanted to be able to do some astrophotography and have my prime seat for sun rise. Some campsites are available at the base of the rock formation and offer more shelter, but the view is not the same.
If you want to enjoy some of the best sunrises and sunsets in Yosemite, Cloud’s rest is a neat spot.
DOWNLOAD TERRAIN PROFILE FOR DAY 2


Day 3 - Back to Car
I woke up in high spirits and enjoyed the gorgeous sunrise with some fellow campers. I then packed everything and headed down for the 6000ft / 12 mile hike back to the parking lot. For some reason, I found the decent much more physically exhausting that the hike up. My legs took quite a beating and I found myself crawling to the pizza place at Half Dome village for a well-deserved meal!
DOWNLOAD TERRAIN PROFILE FOR DAY 3


Gear
CLOTHING
Base layer
Mid layer
Down Jacket
Hardshell
Pants
Shoes
Socks
HARDWARE
Pack
Sleeping bag
Sleeping Pad
Tent
Flashlight
Poles
Cooking gear