


Directions
Directions are similar, whichever trail you choose to reach.
Driving on the i-210, exit on Baseline Rd. From Baseline Rd, turn immediately to the right on Padua Ave. Drive about 2 miles, then turn right on Mount Baldy Rd. Drive 6 miles until you reach Baldy Village. If you intend to hike the Old Baldy trail, this is where you will want to park otherwise keep driving. You will soon hit an intersection: Ice house canyon rd and Baldy Rd. Turn left on Baldy road. The road winds up towards the Manker's Fats parking lot. This is the main parking for Mount Baldy from which the Ski Hut trail starts. I suggest to park here if you want to hike Baldy in the most traditional fashion. Otherwise, keep driving and you will hit the Ski lifts parking lot from which you can easily access the backbone trail.
If hiking the Bear Canyon Trail, park a Baldy Village.
Introduction
Mt Baldy is a 10,000-ft peak located in the San Gabriel Mountains of Southern California. The trailhead is roughly a one-hour drive from Downtown LA.
This peak offers the perfect conditions for a strenuous day hike in a wild environment. It has become my favorite way to stay in shape, and I usually climb it 5-6 times a year, winter included.
There are 5 main routes that lead to the top of Mount Baldy, ranked as follows:
The backbone trail
The ski hut trail
Register Ridge
Bear Canyon trail
Baldy Bowl (Mountaineer’s route - winter only)
Weather and permits
Permits
Wherever you choose to park, make sure to bring a valid Adventure Pass to be displayed on your car's dashboard. You can buy Daily ($5) or yearly ($30) passes at most outdoor retailers. The interagency pass (aka America The Beautiful pass) works as well.
Overnight camping
At this time, no permits are required to camp on the mountain.
Weather
The weather in Southern California can be deceiving and drastically change from year to year. Summers are almost always hot while Spring and Fall are typically the best seasons to hike. You must pay particular attention however to the winter season. Winters in Southern California are notoriously unpredictable and can drastically vary from year to year. Winter temperatures can vary from 50F down to 0F at the summit. Snow level can vary from 0 to 4ft of powder. Do not underestimate the mountain because of its mild location. A mild storm at seashore can translate into high winds and cold temperatures on the summit. On the other hand, some winter days can be relatively warm and wind free, thus offering a completely different experience. I advise that you do your homework by checking the forecast ahead of your trip. Always check for snow levels, precipitations, temperatures and wind speed. Bring the appropriate gear and level of experience.
The Ski Hut Trail
This trail consists of a 4-mile climb with 3900 ft of elevation gain.
The trail starts at the Manker's Flats. Hike up the dirt road for about 1.5 miles. On the way up, you will pass by the San Antonio Falls. At one point, the dirt road splits with a narrow trail going uphill to the left (black dot on the map displayed above). This is the ski hut trail. It is easy to miss and not well marked, so pay close attention to it. The first 2 miles will take you along a steep trail to a Ski Hut built by the Sierra Club in the 1930's. (possibility to rent it for an overnight trip by following this link).
The last 2 miles consist of an even steeper hike which takes the you above tree line, making the already strenuous hike completely exposed to the sun.
Panoramic views of the city start appearing at 9000ft and upon reaching the top, you will be rewarded with 360 views of the LA Valley to the west, the Mojave Desert to the east and the San Gabriel and San Bernardino mountains ranging from south to north.
If you are lucky, you will get to see as far as the Pacific Ocean and Catalina Island. Looking south, you can glimpse at Mt Gorgonio (11,503 ft), and Mt San Jacinto (10,834 ft), two other landmark peaks located in the San Bernardino Forrest.
This trail is quite a workout. If you can do it with a backpack without resting too much, you will be in shape for Mount Whitney.
Download Terrain profile
The Backbone Trail
The backbone trail has the same elevation gain as the Ski Hut trail but over an 8-mile stretch, thus making it a less strenuous undertaking. It starts at Manker's flat and consists of the same dirt road as previously described. Instead of turning onto the high trail which would take you to the ski hut, keep on hiking the Dirt Road. (You can also drive to the ski lifts parking lot, 1 mile ahead of Manker's Flat. At the backend of the parking lot, you will find a shortcut which takes you straight to the Dirt Road). The Dirt Road simply follows the Ski lifts up the Baldy ski resort. Some people buy Ski lifts tickets and only start hiking at the ski resort. From the ski resort, the trail will takes you across the backbone, and up to the top. The views are probably the prettiest views you can get and the ridge line is pretty narrow with large drops on each side.
My favorite way to hike Baldy consists of going up via the Ski Hut and coming down following the backbone trail. Therefore I get a strenuous work out on the way up, and I get to relax and enjoy the views on the way down.
Download Terrain profile
Register Ridge
Register Ridge is the shortest and steepest path towards the summit. Just like the Ski hut Trail above, it starts at Manker's flat parking lot. Start on the trail leading towards the ski hut. 100ft past the junction between the main dirt road and the ski hut trail, you will see a register post. Walk another 50ft and you will see a lightly used narrow trail leading up: this is Register Ridge. This trail is the least travelled path towards the summit. It gains 2,800 ft in a little more than 1.5 miles. It then joins the backbone trail at 9,300ft of altitude, from where you can hike the remaining 1 mile / 700ft towards the summit. Register Ridge is quite a workout, and is reserved for those willing to take the challenge. Winter and snowy conditions may make the ascent even more difficult and require crampons or microspikes and orienteering skills.
download terrain profile
Bear Canyon Trail
The trail starts at the Baldy Village and will take you up to the summit over a strenuous 6.5 miles / 5885 ft elevation gain hike. This is the toughest route and least used trail. It provides a beautiful scenery all the way up. You can try to loop this trail by hiking back by the backbone or the ski hut trail and then hitch hike back to the village. This route is also one of the least travelled. It is very exposed and provides a good amount of solitude.
Download Terrain profile
Baldy Bowl - Mountaineer’s route
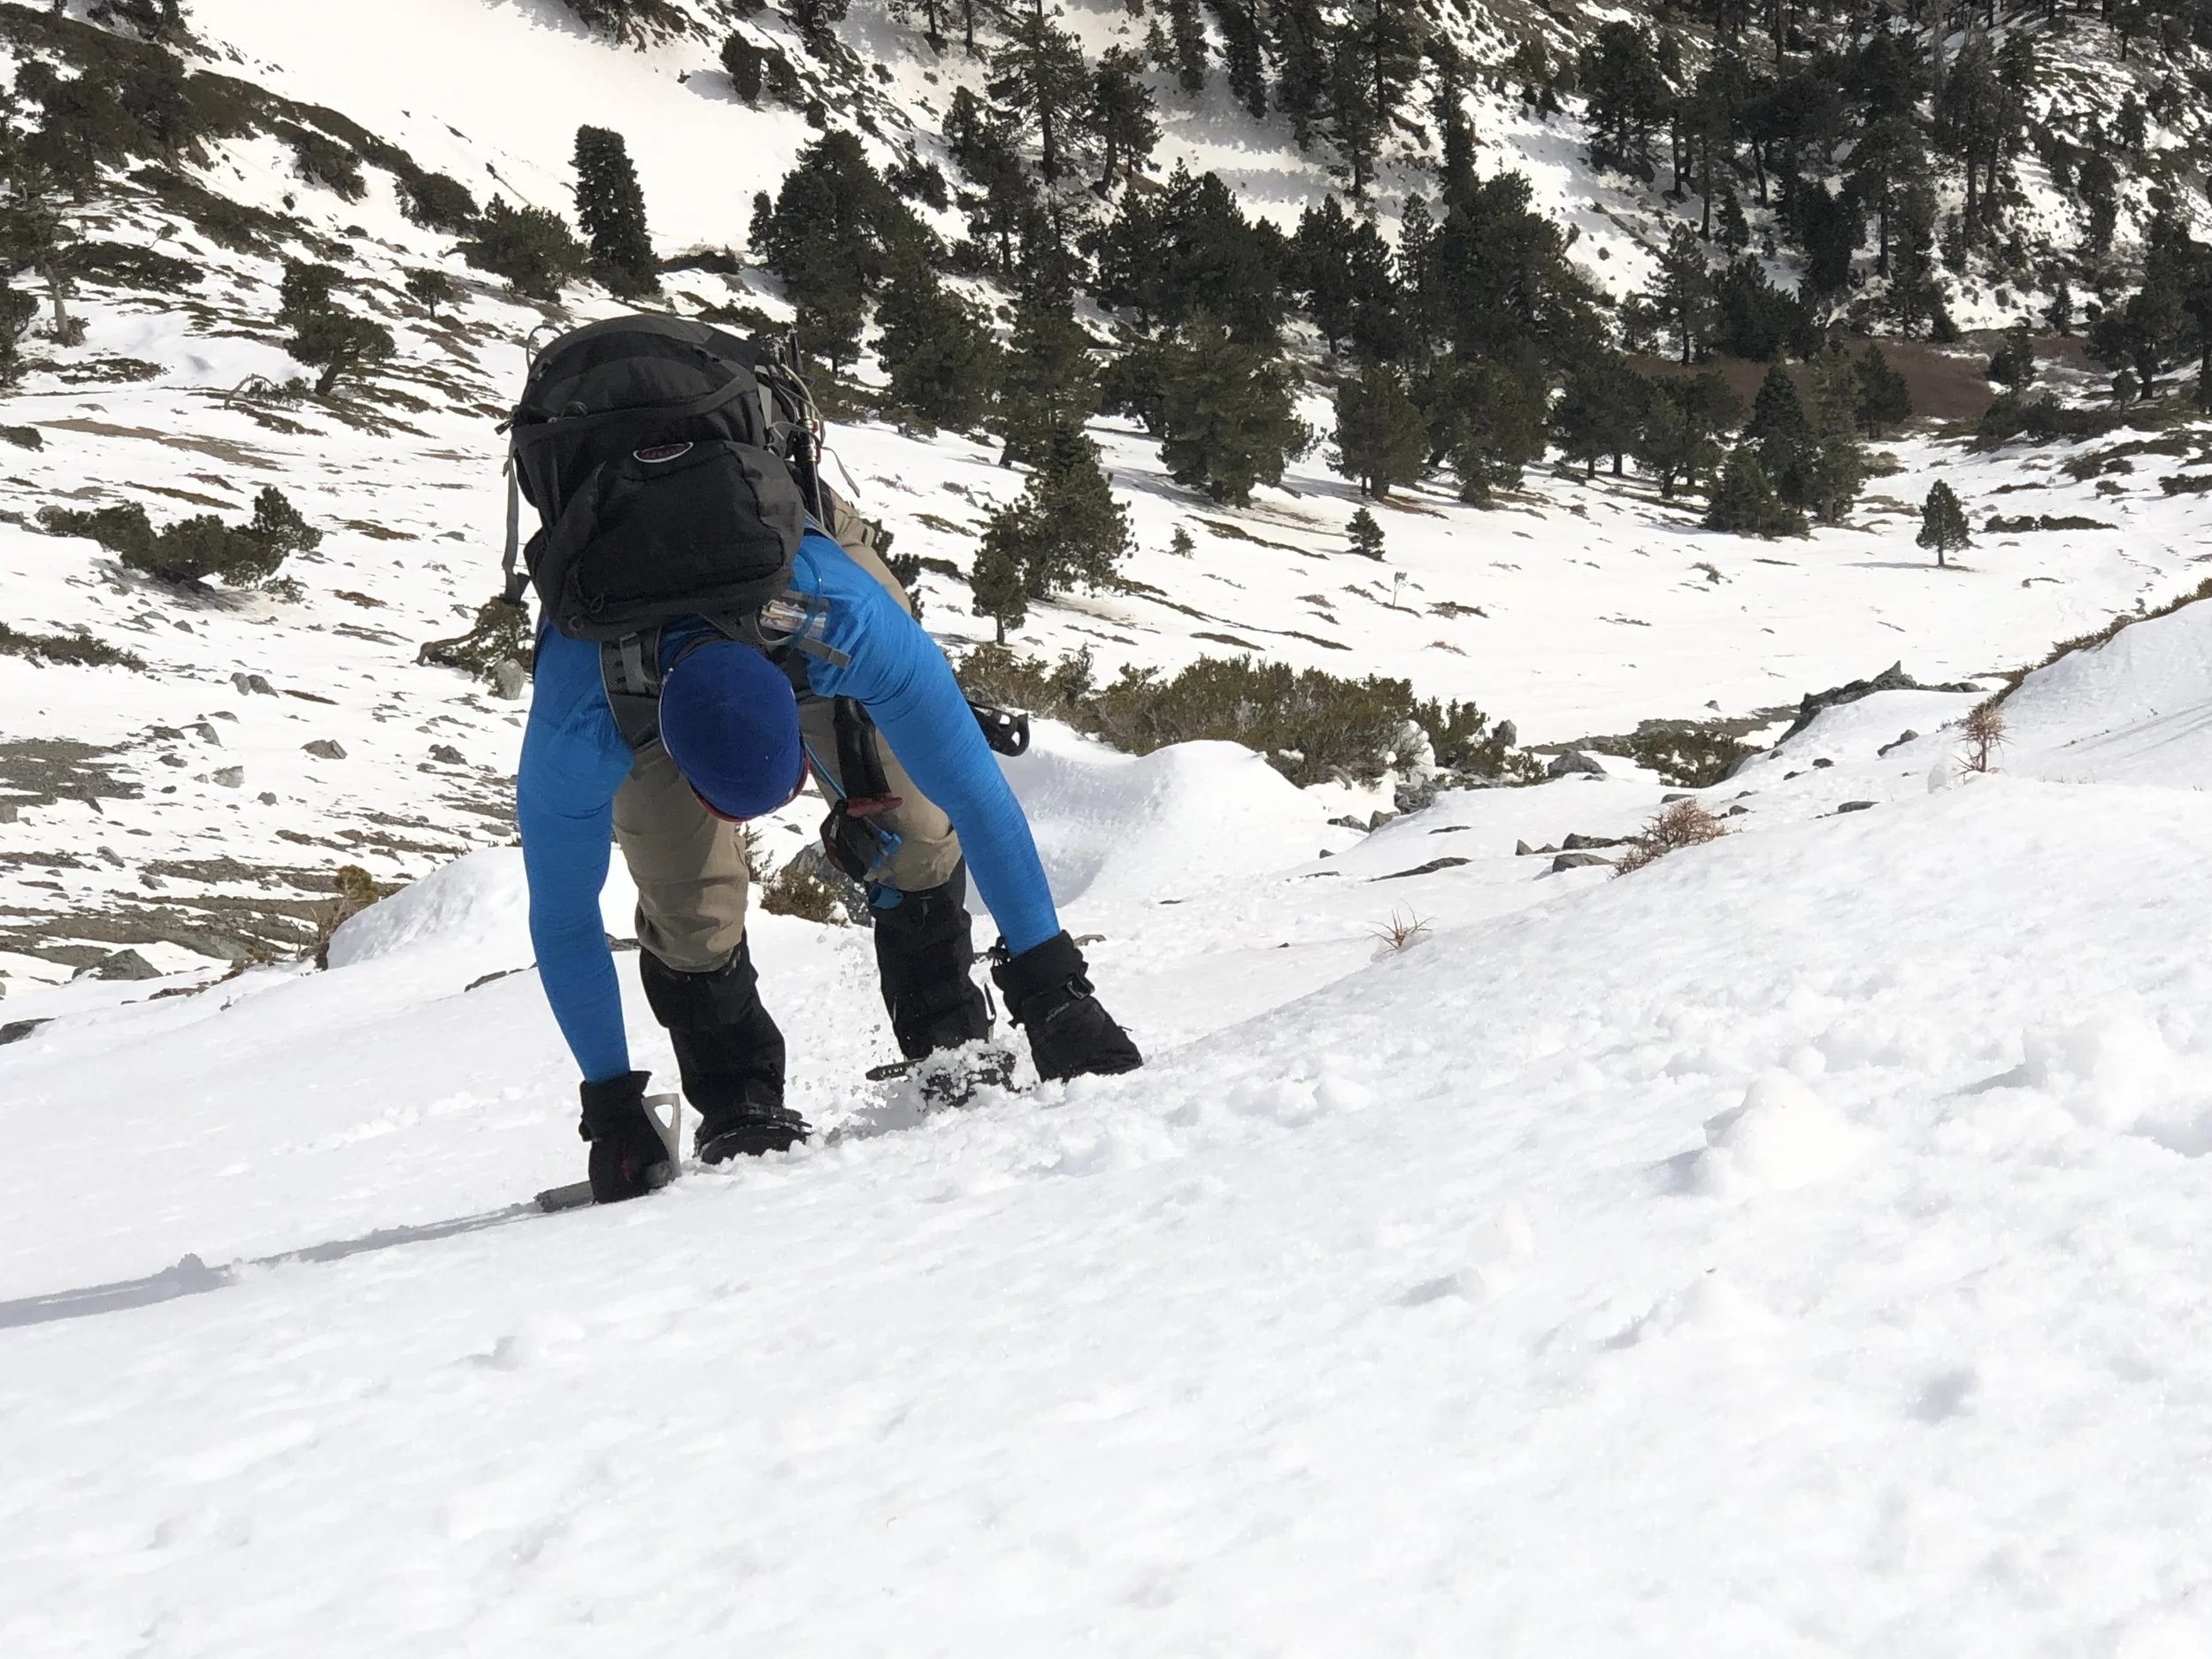
The Baldy Bowl is what I like to call the Mountaineer’s route on Baldy. This route -like the Ski Hut Trail - starts at Manker’s flat. Follow the trail up the ski hut, from there, head 300ft below the Baldy Bowl. This is where the real challenge starts. Instead of following the trail around the bowl (as you would traditionally do hiking up Baldy), you will climb up the bowl straight towards the summit. This route can only be done in the winter with sufficient snow. It is done using proper mountaineering boots, crampons, an ice axe, and the knowledge on how to use them. I sometimes bring snowshoes as the snow can get deep on less exposed sections.
This strenuous route that will lead you on slopes at 40-50 degrees angles. You need to know how to self arrest in case of a fall. I recommend using a helmet as rock falls are common on this route.
There is no single route to head up the Baldy Bowl. In the winter, we usually identify a number of chutes, which are paths that have been loaded with snow. Each chute consists of a potential route. However, the shape and difficulty of these chutes can vary depending on the season.
In the end, the best route is the one you will carve yourself based on the information provided here, the conditions and the level of fitness and experience of your team.
The Baldy bowl is best climbed after a storm when the snowpack is sufficiently strong. Avalanche risk is quite low but still exists. The biggest things to watch for relates to the quality of the snow and the possibility of rock falls which are more likely to happen when the temperature rises and causes the snow to melt.
As a consequence, it is best to summit Baldy Bowl early in the morning (no later than 9am at the top) when the temperatures are relatively cold and the snowpack is still hard.
This is Southern California and temperatures can drastically change in the winter. I once climbed the Baldy Bowl in a tank top, only to get to the summit and be welcomed by clouds that had covered the sun a dazzling wind chill. In a matter of minutes, the temperature had dropped from 60F to a mere 10F.
Be prepared for these conditions and do not take the weather you will encounter on the face as granted.
These warnings are not meant to discourage anyone but to inform people on the risks and conditions to be expected. If you do not feel confident going on your own, find someone with mountaineering experience to take you up.
It is a fun climb and definitely by favorite way to go up Baldy in the winter. If you are climbing Mt Whitney via the Mountaineer’s route, summiting the Baldy Bowl is a great way to train !
The terrain profile below shows the elevation and mileage for the section of the Baldy Bowl as well as a map of the different available routes.
Download terrain profile
Seasons to Climb
You can climb Mount Baldy all year round. My favorite season remains the winter and my favorite routes are the more direct and strenuous Baldy Bowl and Register Ridge. Make sure to bring micro spikes / crampons and an ice axe as the conditions will likely be snowy and icy. The summit can be very cold, so bring winter gear. I remember making this climb on December 25, 2014 when the wind chill made the temperature dropped down to 0F at the summit.
When hiking, be particularly careful on the backbone while hiking in the winter. The drops are steep and a fall would likely be deadly if you cannot self arrest.
I usually avoid the summer months because of the high temperatures. Baldy is famous for being particularly exposed. I would personally not hike it if the temperature rises above 75F.
I enjoy this hike best when it is overcast. I find the views much more dramatic than on a clear day. I once witnessed an inversion phenomena: the clouds were low enough that I ended up above them when reaching the summit.
I have a special relationship with Baldy. This is where I learnt most of my basic hiking skills and improved by physical strength. The first time I climbed Baldy, I had altitude sickness and was so exhausted I could barely stand up for the next two days. The last time I climbed Baldy, we shared a magnum of champagne at the summit and ran back on the way down under a snowstorm.
The experience is different for everyone, but Baldy remains one of the best and most easily accessible hike in Los Angeles, and a fantastic training ground for those aiming at the higher peaks.


Gear
CLOTHING
Base layer
Mid layer
Down Jacket
Softshell jacket (when summiting in the winter)
Softshell pants (when summiting in the winter)
Hardshell
Shoes
Gloves
Socks
HARDWARE
Pack
Flashlight
Poles
Ice Axe (winter only)
Microspikes
Crampons (when summiting on snow in the winter)
Mountaineering boots (winter only)